The RC2014 system started as one man’s “Retro Challenge“, although it is based on earlier hardware and software projects by Grant Searle.
This led to the first commercial RC2014 system, now known as the RC2014 Classic.

The RC2014 is an open system with third parties actively encouraged to build their own variants, to make them available to others and even sell them.
This open approach has encouraged many to join the now very active RC2014 community.
Over time more official RC2014 products have become available, together with a large number of third-party designs and products. There is now a bewildering range of RC2014 and RC2014 compatible products to choose from.
This page aims to help new users decide how to get started with the RC2014. Please note that the following is just my view. While I’ve tried to present the options without bias, I’m sure not everyone will agree with me.
As with so many things, more choice makes purchasing decisions more difficult. If one product were the best option for everyone, guidance would be easy. As usual, you need to think about what your priorities, budget, and ambitions are.
The main options from the official RC2014 range are these:
- RC2014 Classic
- RC2014 Mini
- RC2014 Pro
- RC2014 ZED
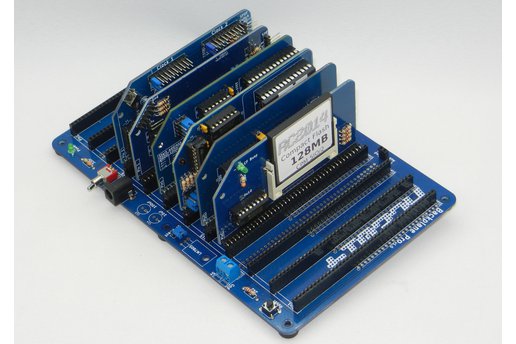
RC2014 Classic
The RC2014 Classic, illustrated above, is now showing its age and I would recommend avoiding it. Module designs have now become standardised, making those in the Classic look rather out of place. Also, address decoding has generally become tighter on newer designs, making it easier to expand the system.
RC2014 Mini

The RC2014 Mini is the simplest of the official RC2014 systems. With fewer parts, fewer modules, and less soldering it is the easiest and most reliable build. It is also the least expensive. It appears the obvious first purchase until you look at capabilities and expansion options.
The RC2014 Mini can only use 8k bytes of ROM at a time, meaning some of the current firmware options are not compatible. It only has 32k bytes of RAM and therefore cannot run CP/M.
There are ways to add extra modules for additional input/output functions, but to overcome the memory limitations requires removing the existing memory and adding whole new memory boards.
If you are on a tight budget, are concerned about your soldering skills, or you plan not to expand the memory, then the Mini is a good choice. Otherwise, I’d avoid it and go for one of the systems below.
RC2014 Pro
The RC2014 Pro has really defined the current module and bus formats. It does work out relatively expensive and it requires a lot of soldering. With so many parts, configuration options and soldering, it is not the easiest and most reliable build.
The RC2014 Pro is a very capable, flexible and expandable system, but even this could be surpassed soon as more users are looking to use bus sockets with even more pins. For example, if you want to use a Z180 processor it is likely you will have the processor on one module and the memory on another. This requires extra address lines which are not included in the Pro specification.
RC2014 ZED

The RC2014 ZED is the latest variant in the official RC2014 range. It maintains bus compatibility with the Pro and uses some of the same modules, but the memory cards of the Pro have been replaced with a single module. This module contains 512k bytes RAM and 512k bytes ROM, and eliminates the Pro’s memory configuration options which provide flexibility, but also complexity.
The reason for all this memory is to run Z-System or CP/M 2.2 operating system from ROM. This design involves fewer parts, fewer modules, and less soldering so it is an easier and more reliable build than the Pro.
To me, one megabyte of memory is not retro enough, but your idea of retro may be different.
Third Party Designs

In addition to the official RC2014 products, there are now many third-party designs. Most of these are open source, meaning you can usually download all the design files and get PCBs made. Some of these designs are sold as PCBs or even complete kits.
Many of the third party designs are add-on modules, such as video display modules, which can be added to the official RC2014 kits. Some are alternative products, such as backplanes with 80-pin sockets to solve the Z180 problem mentioned above. There are even a few complete alternatives to the official RC2014 kits.
There are too many third-party products to describe them all here, so I’ll just be cheeky and plug one of my own designs.
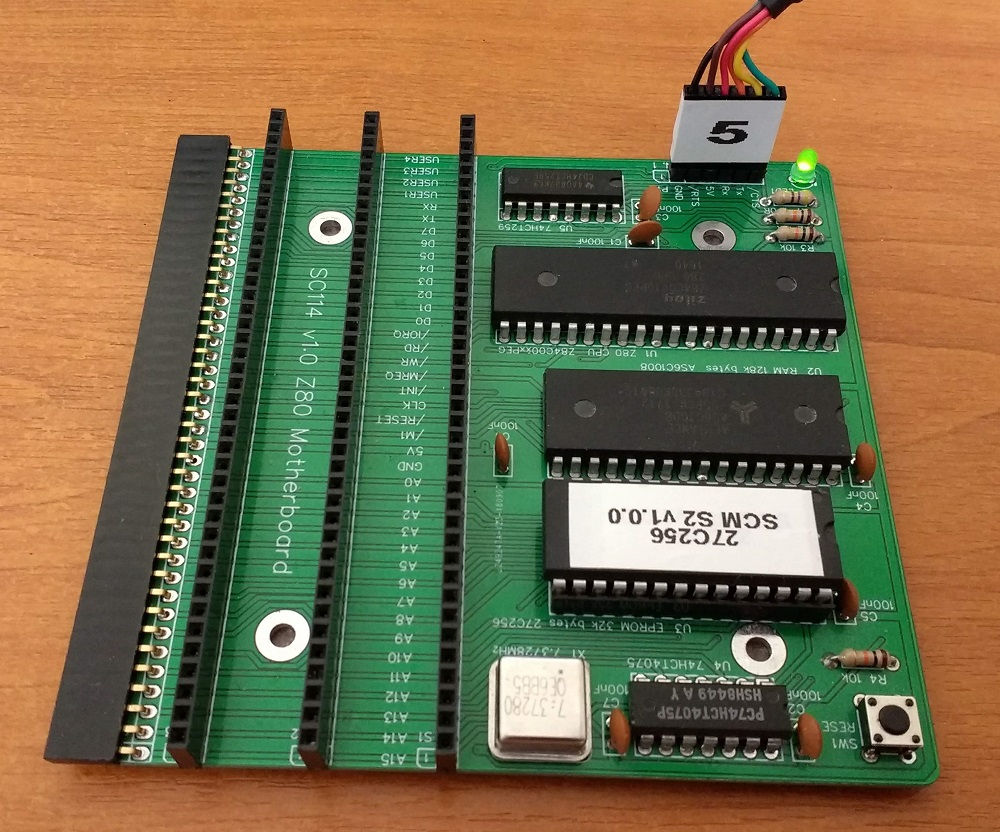
SC114 is a Z80 motherboard with RC2014 compatible expansion sockets. I developed this board to provide an easier, cheaper way to get started with RC2014 compatible computers, whilst still allowing expansion without having to replace parts. It has fewer components, less soldering, and no complex configuration options. The components are well spaced out making soldering easier. It can operate in a basic way without any expansion, but can easily be extended to run CP/M and more.
Here’s Karl’s thoughts on choices for RC2014.
Here are a few places to look for third-party products:
